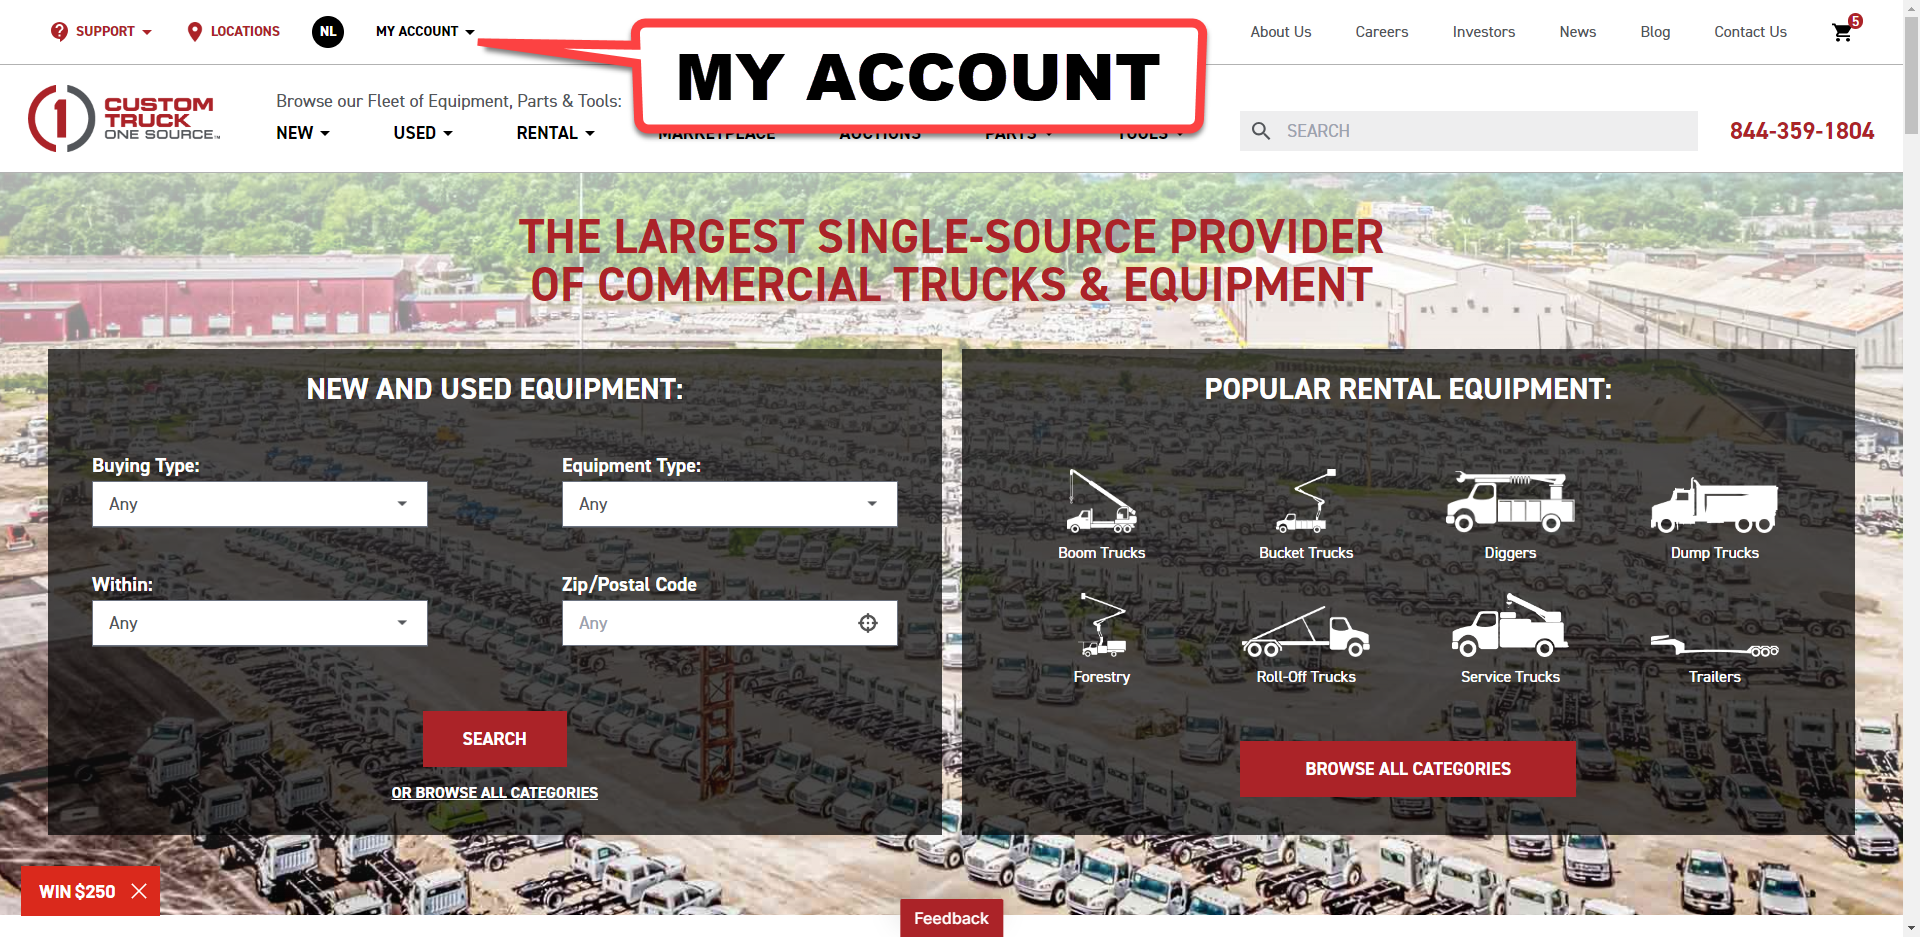
Once you are signed in, navigate to the [MY ACCOUNT] link on the top left of the header bar and click on the link to display the report menu tiles.
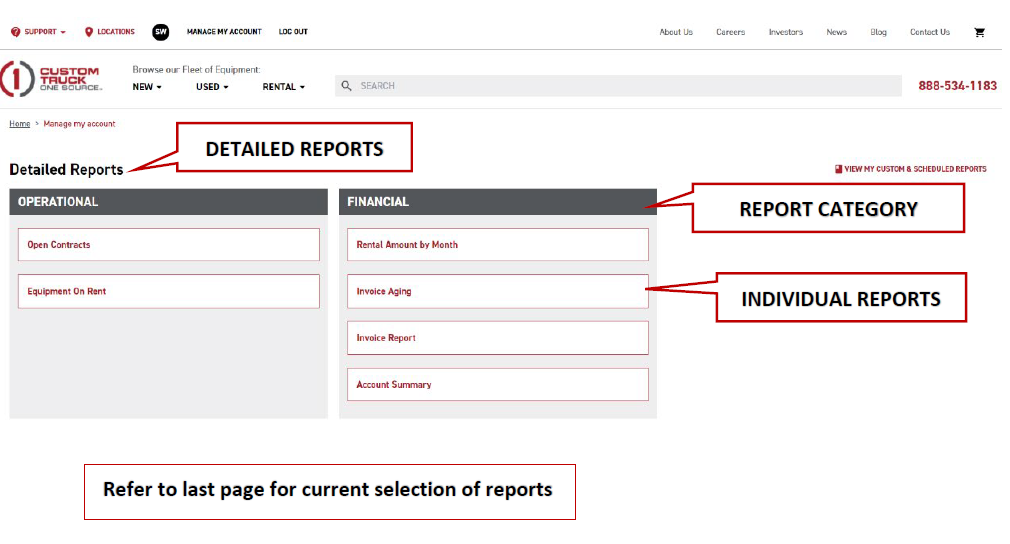
Detailed Reports – You should be in the Detailed Report section. Select the report you wish to schedule by clicking on it to open.
If your registration has not yet been authenticated, you will not see any reports. If you just created your account, please give us 2-3 business days to authenticate the registration.
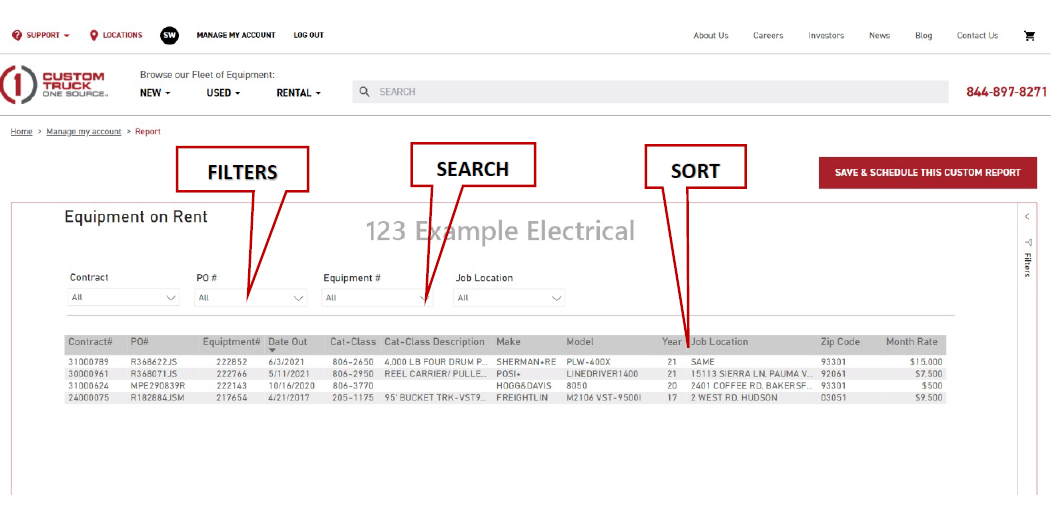
Once the report is displayed on the page, the user can filter, search and sort the report further with various filters, sort headers, and search bars.
- Filter – Drop-down filters and date parameters above the report data allow the user to multi-select the relevant data they want to appear in their report
- Sort –Clicking on the column header will sort the report in ascending or descending order.
- Search – A drop-down filter includes a search field that allows the user to search with a numeric or alphabetical search term for the desired results.
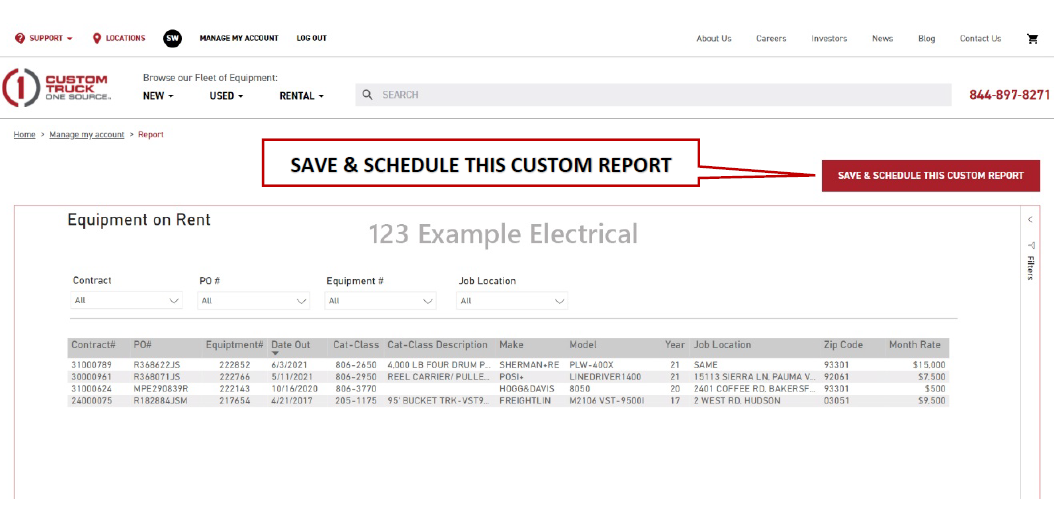
If you have customized your report further by filtering it down, selecting a date period, or sorting the report, you can now save this report so that you don’t have to repeat the above steps each to you want to access the same customized report. Clicking on the [SAVE & SCHEDULE THIS CUSTOM REPORT] tab allows the user to schedule the report to be sent to their same authorized email account, as well as any other authorized email accounts as we will explain in the next steps.
Once you click on the [SAVE & SCHEDULE THIS CUSTOM REPORT] tab a frame will open above the report and allow you to save the customized report. You can do this by entering in your own unique [report name] and clicking on the [SAVE REPORT] tab to save the report.
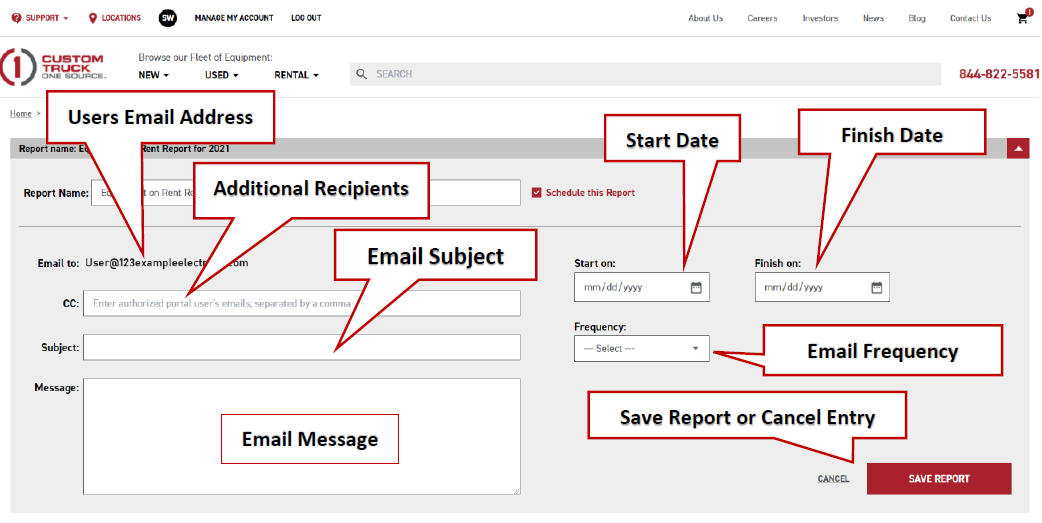
Additionally, you can check the [Schedule this Report] box, which will expand the frame downwards and allow the user to set a scheduled period for sending this customized report to their authorized email account.
Once the [Schedule this Report] box has been checked, the user's account-associated email address will automatically be prefilled on the form. The user can add additional AUTHORIZED recipients (separated by a comma) email addresses to the schedule, as well as include an email [subject] and a [message] to themselves, as well as the other recipients, with a brief explanation of the report.
Next, the user will select a [start] and [finish] date range of when to start and end the reports from being emailed, as well as select the [frequency] of the report to be emailed within the set period of dates.
Frequency
The user can set the [Frequency] of how often they would like the report to be emailed to their and any other authorized recipient they wish to include. The frequency periods include, Daily, Weekly & Monthly.
Once the user has completed all the other information and selected the frequency, they can now click on [SAVE REPORT] to save this scheduled email. The report will now be saved on the [Custom & Schedule Reports] page – see step eleven for additional information.
- Daily - If the [Daily] frequency is selected, the user will also enter the number of days they would like the schedule report to be emailed to them. The user would select 1 through 6 days. For seven days or more the user should select the [Weekly] (see Step Nine) or [Monthly] (see Step Ten) Option. Once the daily frequency is selected, and the number of days entered that it should be repeated, the user can save the scheduled report.
- Weekly - If the [Weekly] frequency is selected, the user will also enter the number of weeks they would like the schedule report to be emailed to them. The user would select 1 through 3 weeks. For four weeks or more the user should select the [Monthly] (see Step 10) Option. Once the monthly frequency is selected, and the day of the week (Monday-Friday) the email should be delivered on, the user can save the scheduled report.
- Monthly - If the [Monthly] frequency is selected, the user will also enter the number of every month/s they would like the schedule report to be emailed to them. The user would select 1 through 12, etc. months. Once the monthly frequency is selected, and the day of the month (1-28/30/31) the email should be delivered on, the user can save the scheduled report.
Custom & Schedule Reports Page
Once the user has saved the frequency of how often they would like to receive the scheduled email report, the report/s will be saved to a [Custom & Scheduled Reports] page. The user can click on the [Custom Report Name] link to edit an existing scheduled or saved report, as well as click on the [Schedule] hyperlink to edit or change a saved default report to be scheduled. Reports can also be deleted if they are no longer needed by clicking on the delete/trash icon. To return to the reports page, click on the [MY ACCOUNT] tab on the top left header or the [My Account] bread crumb.
If you have any questions or need additional support, please email marketing@customtruck.com.